반응형
Flutter에도 Route가 있다니 참 놀랍다
React나 Vue 같은 웹프로그래밍에서만 써봤는데, Flutter에도 있으니 바로 써보도록 하겠다
1. 기본코드
main.dart
import 'package:flutter/material.dart';
import 'package:flutter_practice/pages/practice_page.dart';

void main() {
  runApp(const MyApp());
}

class MyApp extends StatelessWidget {
  const MyApp({Key? key}) : super(key: key);

  // This widget is the root of your application.
  @override
  Widget build(BuildContext context) {
    return MaterialApp(
      home: const PracticePage(),
    );
  }
}practice_page.dart
import 'package:flutter/material.dart';
import 'package:flutter_practice/components/practice_tabbar.dart';

class PracticePage extends StatelessWidget {
  const PracticePage({Key? key}) : super(key: key);

  @override
  Widget build(BuildContext context) {
    return Scaffold(
      body: Center(
        child: Text(
          "PracticePage",
          style: TextStyle(
            color: Colors.red,
          ),
        ),
      ),
    );
  }
}sub_practice_page.dart
import 'package:flutter/material.dart';
import 'package:flutter_practice/components/practice_tabbar.dart';

class SubPracticePage extends StatelessWidget {
  const SubPracticePage({Key? key}) : super(key: key);

  @override
  Widget build(BuildContext context) {
    return Scaffold(
      body: Center(
        child: Text(
          "SubPracticePage",
          style: TextStyle(
            color: Colors.green,
          ),
        ),
      ),
    );
  }
}main.dart하나에 페이지 두 개를 준비했다
2. Route
이번에는 Route를 작성해 보자
main.dart
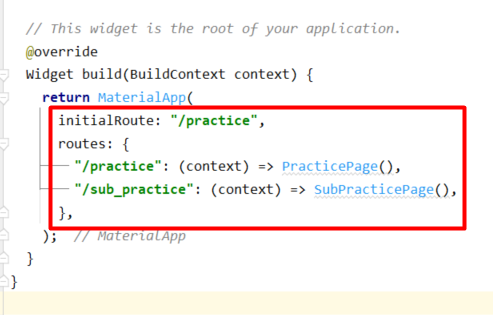
initialRoute: "/practice",
routes: {
    "/practice": (context) => PracticePage(),
    "/sub_practice": (context) => SubPracticePage(),
},MaterialApp내부에 있는 코드는 지우고 위의 코드를 넣도록 하자
initialRoute는 초기 페이지를 어디로 할지 정하는 것이다
routes안에 있는 페이지로 이동시, 해당하는 페이지를 보여주도록 하게 만들었다
3. Button만들고 Navigator.pushName 사용
practice_page.dart

child: OutlinedButton(
  onPressed: () {
    Navigator.pushNamed(context, "/sub_practice");
  },
  child: Text(
    "PracticePage",
    style: TextStyle(
      color: Colors.red,
    ),
  ),
),위의 코드를 작성해서 버튼을 만들었다
onPressed를 사용해서 버튼을 눌렀을 때 이벤트를 발생시키도록 한다
클릭 이벤트가 실행 됬을때, Navigator.pushNamed(context, "route경로") 를 해주면
페이지가 이동이 될것이다.
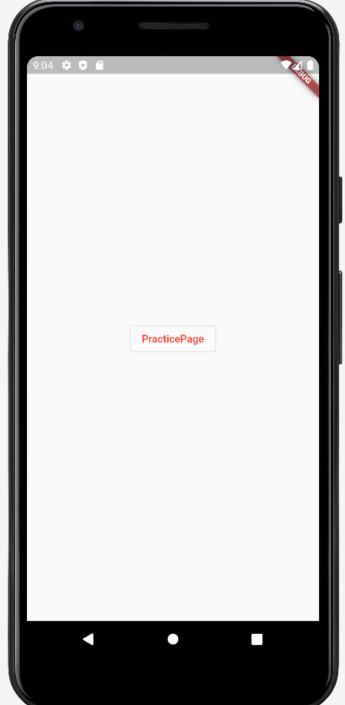
이대로 실행해 볼까

저 버튼을 한번 눌러보겠다
4. Button 만들고 Navigator.pop사용
이제 뒤돌아가는 버튼을 만들어 보겠다. 코드 수정을 해야 한다
sub_partice_page.dart
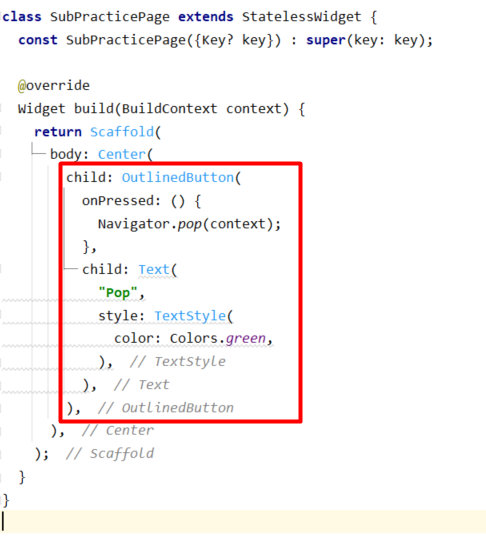
child: OutlinedButton(
  onPressed: () {
    Navigator.pop(context);
  },
  child: Text(
    "Pop",
    style: TextStyle(
      color: Colors.green,
    ),
  ),
),위와 같이 수정을 한다.
그리고 다시 실행

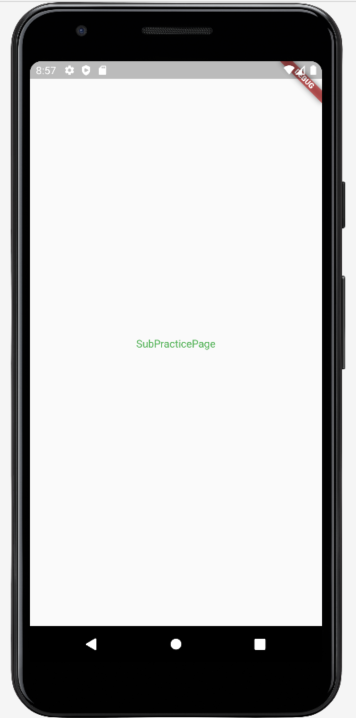
SubPracticePage 클릭을 하면 화면이 이동될 것이다
아래화면을 보자
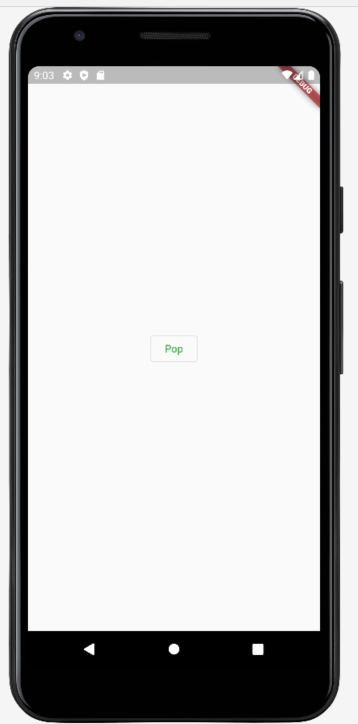
여기서 다시 Pop을 클릭하면 뒤로 돌아갈 것이다
이렇게 Route를 사용하는 법을 배웠다
PushNamed()와 pop()을 잘 기억하도록 하자
반응형
'Web Programming > Flutter&Dart' 카테고리의 다른 글
| Flutter Form & TextoFormFiled 사용법 (0) | 2023.02.24 |
|---|---|
| Flutter Svg Image 사용하기 (SvgPicture) (0) | 2023.02.23 |
| Flutter 이미지 나열하기 (GridView 사용법) feact.(Image.network) (0) | 2023.02.21 |
| Flutter TabBarView와 Expanded 사용하기 (0) | 2023.02.20 |
| Flutter TabBar만들어 보기 (0) | 2023.02.17 |
